How to
Search
Find
How to
Join
How to upload youtube videos without video
upload
How to Upload Videos on YouTube (Settings to Maximize Views!)
Play Video
Video time control bar
0:00
▶️
⏸️
🔊
Audio volume control bar
0:00
/
0:00
↘️ 0.25
↘️ 0.5
↘️ 0.75
➡️ 1
↗️ 1.25
↗️ 1.5
↗️ 1.75
↗️ 2
↔️
↕️
Timecodes:
No transcript (subtitles) available for this video...
Other suggestions:
How to UPLOAD Videos on YouTube FASTER! (Works for any video)
How To Upload Videos On YouTube In Mobile | Upload Videos On YouTube | Telugu
How To Upload Movies On YouTube Without Copyright To Make Money On YouTube
How To Upload Movie Clips On YouTube Without Copyright
How to Upload Videos on YouTube
How to re-upload videos without copyright claims and make money on YouTube in 2023
How To Upload Videos Longer Than 15 Minutes on YouTube (2023)
How To Upload YouTube Videos Longer Than 15 Minutes - Full Gude
How To Upload Movie Clips On YouTube Without Copyright (Fair Use Explained)
Edit a YouTube video after upload without deleting it and losing views
How to Upload Movies to YouTube without Copyright 2023
How to Upload Videos to YouTube from iPhone & Android
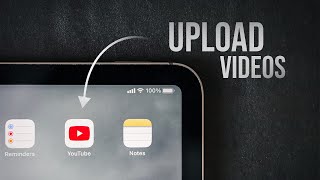
How to Upload Youtube video from iPad (tutorial)
Tricks to Upload Highest Quality Video on YouTube - YouTube Compression FIX
How to Upload Videos on YouTube from Your Phone
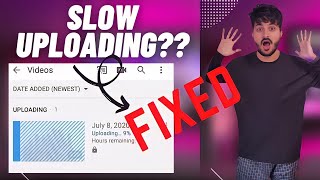
How to Upload Videos on YouTube Faster | Slow Uploading Issue on YouTube
How to Upload Faster to YouTube in iMovie (Best Export Settings)
Upload Videos to WordPress without YouTube (No Coding!)