How to get rid of rotten egg smell in bathroom
get rid
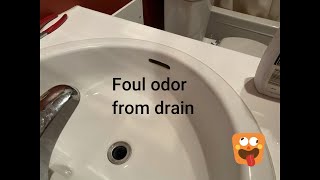
Rotten egg sewer SMELL in bathroom? This might be the problem! 🦨🥚👃🏼🚽
Timecodes:
No transcript (subtitles) available for this video...
Related queries:
how to get rid of rotten egg smell in bathroom sink
how to get rid of rotten egg smell in shower drain
how to get rid of rotten egg smell in toilet
how to get rid of rotten egg smell in shower
how do i get rid of rotten egg smell in bathroom drain
why does my bathroom smell like rotten eggs
what would cause rotten egg smell in bathroom
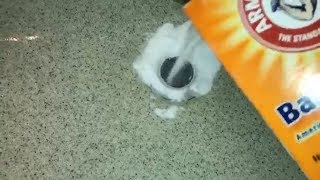
how to get rid of rotten egg smell in drain
how to get rid of egg smell in bathroom
![How To Get Rid of That Awful Smell in Your Sink Drain [Just 1 Minute]](https://img.youtube.com/vi/Q1SQlaCCRc0/mqdefault.jpg)


![How to Get Rid of the Smell in your Shower Drain [Detailed Guide]](https://img.youtube.com/vi/ynLL2LP4ec0/mqdefault.jpg)