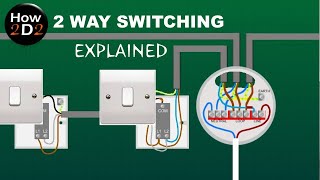
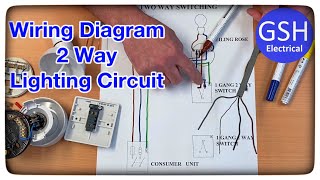
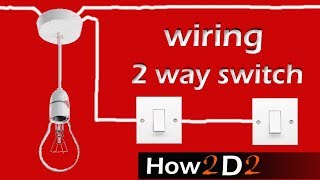
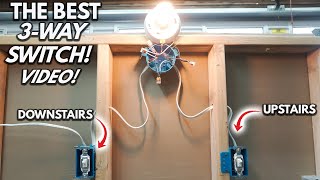
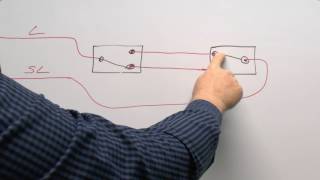
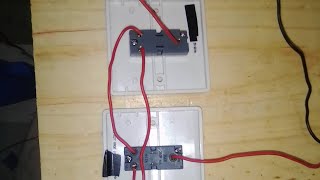
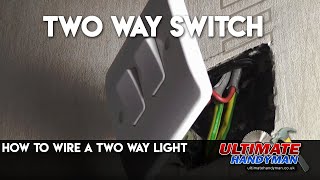
How to a two way switch wiring
a
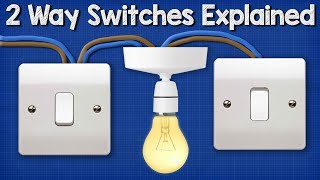
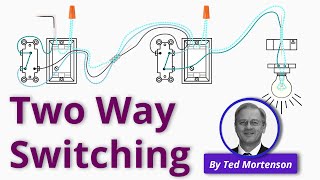
How to Wire a Two Way Light Switch | 2 Way Switching For Beginners
Timecodes:
No transcript (subtitles) available for this video...
Related queries:
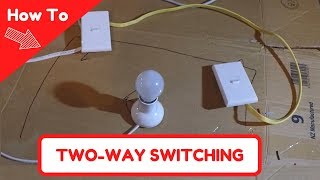
how to do two way switch wiring
how to install two way switch wiring
how is a two way switch wiring
how to 2 way switch wiring
how to wire a two way switch diagram
how to two way light switch wiring
how to install a 2 way switch diagram
how to wire a two way switch usa
how to wire a two way switch australia
how to wire a two way switch uk